
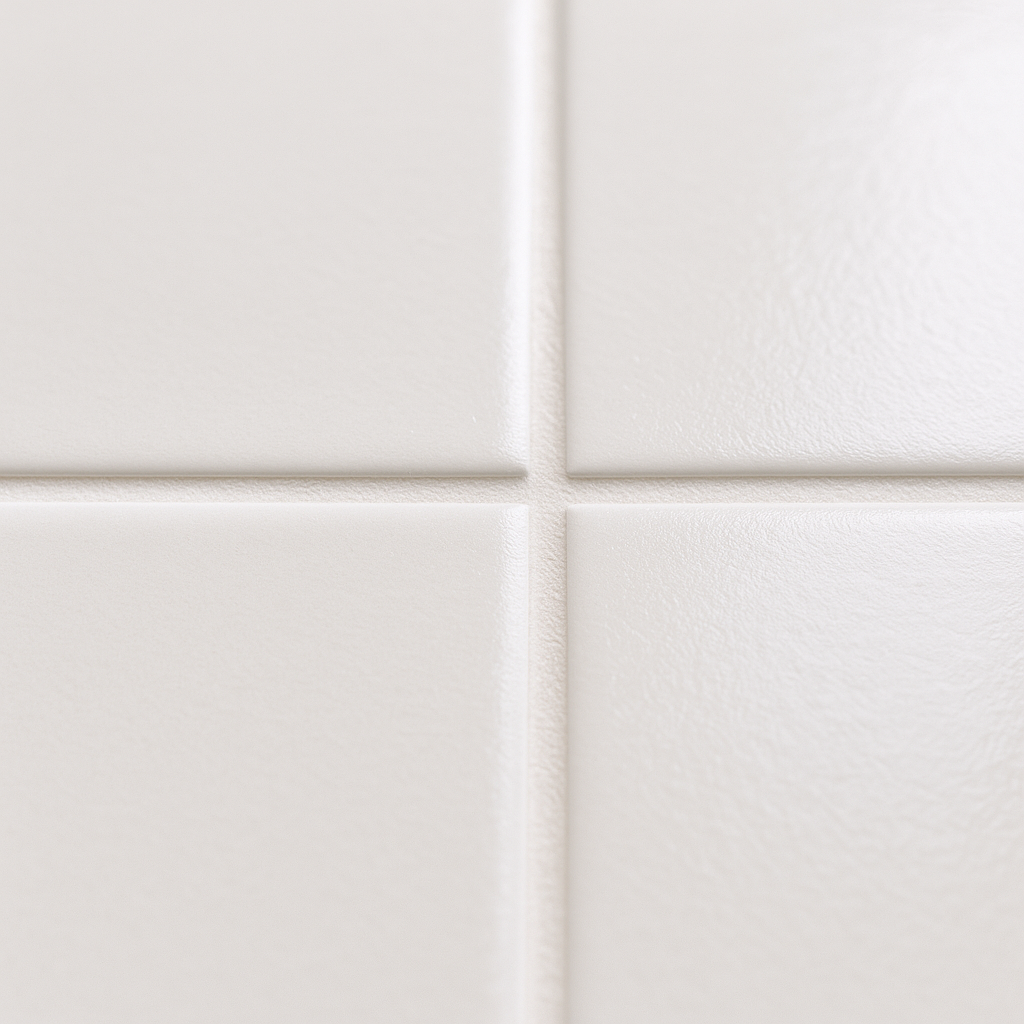
Dirty grout is one of the most stubborn problems we encounter in Singapore homes — and one of the most common reasons homeowners reach out to us. Our island’s humidity, combined with the daily splashing in HDB bathrooms and kitchen wet areas, turns grout lines dark, mouldy, and impossible to clean with a regular mop. If you’ve been scrubbing at your tiles with zero results, here’s the professional approach to grout cleaning Singapore homeowners actually need.
A Real Story — A Toa Payoh HDB owner who gave up scrubbing
A homeowner from a 4-room HDB flat in Toa Payoh contacted us after spending three weekends attacking her bathroom floor grout with bleach pens and old toothbrushes — the lines stayed stubbornly grey-black, and the smell of mould kept creeping back within days. She’d tried two supermarket tile sprays and even a steam mop she borrowed from her neighbour, but nothing penetrated deep enough to lift the years of built-up soap scum and fungal growth embedded in the porous grout. When our team arrived, we completed a full bathroom grout clean in under two hours, leaving lines that were visibly white for the first time in years. She messaged us the next morning to say her husband thought they’d retiled the bathroom — that kind of result is exactly why we do this work.
Step 1 — Assess the grout condition before touching anything
Before our team touches anything, we do a proper assessment of the grout type, tile material, and degree of contamination. Not all grout is the same — epoxy grout, sanded cement grout, and unsanded grout each respond differently to cleaning agents, and using the wrong product can cause permanent discolouration or surface erosion. In Singapore’s older HDB flats, we often find cement grout that is highly porous and has been absorbing moisture and soap residue for a decade or more, while newer BTO and condo units tend to have tighter grout lines that just need a targeted deep clean rather than aggressive treatment. Understanding what we’re working with determines every product and technique choice that follows.
Step 2 — Clear the surface and apply the right pre-treatment
We always start with a thorough dry sweep or vacuum of the tile surface to remove loose debris, hair, and dust before any liquid product goes down. Applying a wet cleaner over dry debris just creates mud that pushes dirt deeper into the grout — a mistake we see often when homeowners try to DIY the job. Our pre-treatment stage involves applying a professionally formulated alkaline cleaner to the grout lines and allowing it to dwell for the correct amount of time based on the contamination level we assessed in Step 1. During this dwell time, the solution is actively breaking down soap scum, grease, and the biological matter that causes that black mould colouring.
- Bathroom floor grout — highest priority, usually the most contaminated from daily shower splashing and foot traffic
- Kitchen wall and backsplash grout — heavily affected by cooking grease and steam, often overlooked
- Outdoor corridor and balcony tile grout — weathered by rain and humidity, frequently showing green algae growth
“One thing most Singapore homeowners don’t realise is that scrubbing before the cleaning agent has had time to dwell is actually counterproductive — you’re just spreading contamination around rather than lifting it. Doctor Clean always waits the full dwell time, even when a client is watching the clock.”
Step 3 — Mechanical scrubbing with the right tools
This is where the real work happens, and it’s the step that separates a professional grout clean from what you can achieve with a household brush. Our team uses purpose-built grout brushes with stiff, narrow bristles designed to fit directly into the grout channel — not a wide scrubbing pad that rides over the surface without making contact where it counts. For larger floor areas, such as the open-plan living room tiles you find in many Jurong or Punggol condos, we use rotary machine scrubbers with grout-specific attachment heads that deliver consistent pressure across the entire floor without exhausting a human arm doing it manually. The mechanical action, combined with the pre-treatment solution still active in the grout, pulls contamination up and out of the porous surface rather than just smearing it. We work in sections so no area dries out before it’s been scrubbed — timing matters as much as technique when you’re doing this at scale across a full apartment.
Step 4 — Extract and rinse thoroughly
After scrubbing, the grout lines are full of suspended dirt, cleaning solution, and everything that’s been sitting in those channels for months or years — and it all needs to come out completely. Our team uses a wet vacuum extraction process to pull the dirty solution off the surface before it can resettle into the grout as it dries, which is the single biggest difference between a professional finish and a home DIY result that looks clean wet but grey again once dry. We follow extraction with a clean water rinse, working methodically across the space and paying particular attention to corners, edges along walls, and the grout lines around toilet bases and shower trays where contamination is usually worst. In older Bishan or Ang Mo Kio HDB flats where the grout is especially porous, we sometimes do two rinse passes to make sure no cleaning agent residue is left behind, since residue left in grout can actually attract more dirt faster once the floor is back in use.
Step 5 — Seal the grout to protect the result
A grout clean without sealing is only half the job — and this is the step most people skip, which is why their grout goes dark again within a few months. Doctor Clean applies a penetrating grout sealer to all cleaned lines after the surface is fully dry, which fills the microscopic pores in the cement grout and creates a barrier against moisture, soap scum, and mould spores. In Singapore’s climate, where bathrooms rarely fully dry out between uses, sealing is not optional — it’s the difference between a result that lasts one year and a result that lasts three or four. We recommend homeowners in high-humidity units, especially ground-floor HDB flats or poorly ventilated bathrooms, book a re-seal every 12 to 18 months to maintain the protection layer.
Why Singapore Homeowners Choose Doctor Clean
We’ve cleaned grout in hundreds of Singapore homes across every property type — from ageing 3-room flats in Queenstown to brand-new ECs in Tengah — and our clients keep coming back because we deliver results that actually hold up. Here’s what that means in practice:
- Visible white grout lines, not just cleaner-looking grey ones: Our process genuinely lifts embedded contamination rather than masking it, so the result is immediately obvious and lasts significantly longer than a surface clean.
- No harsh chemical damage to your tiles or fixtures: We select products appropriate to your specific tile and grout type, meaning no etching on natural stone, no bleaching of coloured grout, and no residue left behind that damages surfaces over time.
- Trained team with proper equipment — not a mop and bucket: Every Doctor Clean technician is trained specifically on tile and grout work and arrives with professional-grade extraction equipment, not repurposed household tools.
- Flexible scheduling that fits Singapore life: We offer weekday, weekend, and evening slots, and we’re straightforward about timing and scope from the first WhatsApp message — no vague quotes that balloon once we arrive.
Frequently Asked Questions
How often should I get professional grout cleaning in my Singapore HDB or condo?
For bathrooms in regular use, we recommend a professional deep clean every 12 months in most Singapore homes — the humidity here means mould and soap scum build up faster than in drier climates. If you have young children, pets, or a poorly ventilated bathroom, every 6 to 9 months is a more realistic interval to prevent the contamination from becoming deeply embedded. Kitchen grout, especially behind the stove and around the sink, benefits from a professional clean every 12 months as well, since cooking grease is harder to remove the longer it’s left.
Can professional grout cleaning fix black mould in bathroom tiles?
Yes — black mould in grout lines is one of the most common jobs we handle across Singapore homes, and our alkaline pre-treatment combined with mechanical scrubbing removes the vast majority of mould contamination even in severe cases. However, if mould has penetrated so deeply that the grout itself has structurally deteriorated or is crumbling, re-grouting may be needed before cleaning makes a meaningful difference — our team will tell you honestly during the assessment if that’s the situation rather than charging you for a clean that won’t give you a satisfying result.
Is grout cleaning safe for marble tiles and natural stone in condo bathrooms?
Natural stone like marble, travertine, and limestone requires a different approach than ceramic or porcelain tiles, and this is something Doctor Clean takes very seriously. We use pH-neutral or mildly alkaline products on natural stone surfaces and avoid any acid-based cleaners that would etch or dull the stone surface permanently. If you have marble flooring in a Orchard-area condo or a landed property with natural stone throughout, let us know upfront so we can bring the right products and ensure the clean enhances rather than damages your floors.
How long does professional grout cleaning take for a typical HDB flat?
A standard HDB 4-room flat with one bathroom and a kitchen typically takes our team between 2 to 3 hours for a thorough grout clean including sealing. Larger units, condos with two or more bathrooms, or properties with heavily contaminated grout that requires multiple treatment passes will take longer — we’ll give you an honest time estimate after understanding your unit size and condition when you contact us.
Ready to get this sorted? WhatsApp Doctor Clean — honest quote, no hard sell, fast reply.


 Doctor Clean