
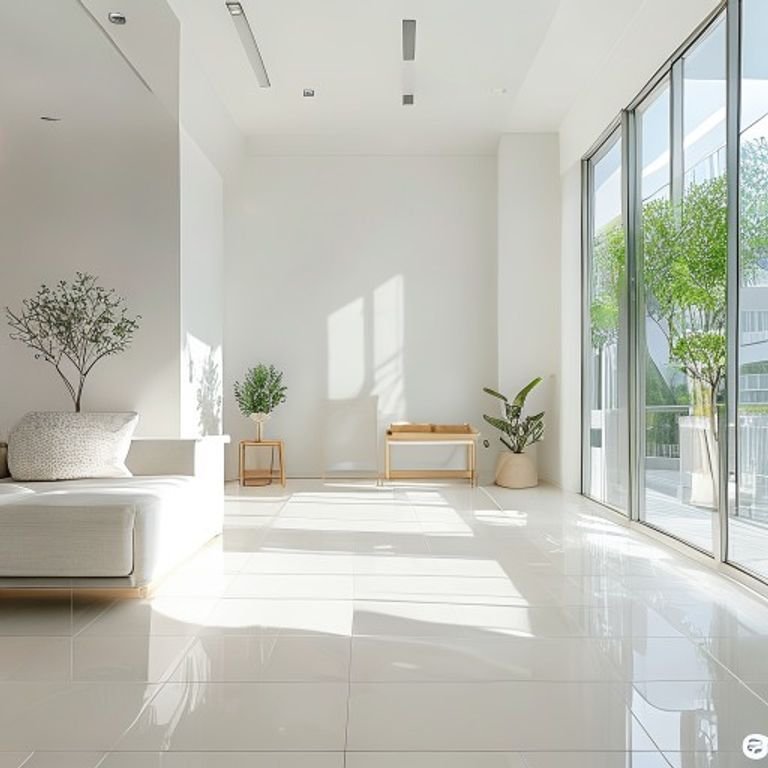
Post-renovation cleaning Singapore is one of the most demanding cleans a home will ever need — and one of the most commonly underestimated. After weeks of hacking, tiling, painting, and carpentry, your brand-new HDB or condo is coated in a fine layer of cement dust, silicone residue, paint overspray, and construction debris that ordinary mopping simply cannot handle. If you’ve just collected your keys and are staring at the chaos left behind by your contractors, this guide is exactly what you need.
A Real Story — A Clementi BTO owner who scrubbed for three days and still couldn’t get it clean
Farah and her husband had just completed a full renovation of their 4-room BTO flat in Clementi and were desperate to move in before the school term started. They spent three full days mopping, wiping, and scrubbing, but the floors still looked hazy, the tiles felt gritty underfoot, and there was a persistent white film on every glass surface and cabinet. A friend recommended Doctor Clean, and when our team arrived, we identified the problem immediately — cement haze had bonded to the porcelain floor tiles and the glass shower screen, and no amount of regular mopping was going to shift it without the right chemicals and technique. After our full post-renovation clean, Farah messaged us to say she genuinely teared up walking into her kitchen — it looked exactly like the showflat photos she had saved on her phone during the planning stage.
Step 1 — Assess the Site Before a Single Cloth Is Lifted

Before our team touches anything, we do a full walk-through of the unit to assess the type and depth of contamination across every surface. Renovation sites are not all the same — a unit that had full hacking and tiling work will have far more cement particulate than one that only had a fresh coat of paint. We check the flooring type, window tracks, false ceiling joints, grout lines, and any areas the contractor may have protected with cardboard or tape, because those are often the spots where debris has been pushed and trapped. This assessment shapes the entire cleaning sequence and ensures we bring out the right tools and dilutions for your specific renovation scope.
Step 2 — Remove All Loose Debris and Construction Dust First
The single biggest mistake homeowners make is mopping or wiping before the dry debris has been fully removed — all that does is turn cement dust into a paste that smears across your new floors and scratches the surface. Our team always begins with a thorough dry phase: industrial-grade HEPA vacuuming of every room, followed by dry microfibre sweeping to lift fine particulate from floors, skirting boards, window ledges, and door frames. We pay especially close attention to:
- Air-conditioning ledges and fan coil units, which trap enormous amounts of fine dust during renovation
- Window tracks and sliding door channels, which collect grit and cement chips that damage the mechanism over time
- The tops of newly installed kitchen cabinets and bathroom vanities, where contractors frequently rest tools and leave debris
“One thing most homeowners don’t realise is that renovation dust is not just dirty — it’s chemically active. Cement particulate is alkaline and, if left on certain stone surfaces or glass, will etch and stain permanently within weeks. Removing it quickly with the correct pH-balanced cleaner is not optional — it’s protecting your renovation investment.”
Step 3 — Tackle Cement Haze, Grout Residue, and Paint Spots on Hard Surfaces

This is the most technically demanding part of post-renovation cleaning Singapore homeowners rarely anticipate, and it’s where our team’s experience makes the biggest difference. Cement haze — that dull, white film left on tiles after grouting — does not respond to regular floor cleaner. Our team uses a carefully diluted acidic cleaning solution applied in controlled sections, which chemically breaks down the calcium carbonate in the cement film without damaging the tile surface beneath. Grout residue on large-format porcelain tiles is particularly stubborn and requires both the right chemistry and firm, targeted scrubbing with the correct pad type. Paint spots on tiles, skirting boards, and glass are treated differently again — we use a plastic scraper and solvent-based spotter to lift them cleanly without leaving scratch marks on your new finishes. Every surface type gets treated with the method appropriate to it, not a one-size-fits-all approach.
Step 4 — Deep Clean Bathrooms, Kitchen, and All Wet Areas
Newly renovated wet areas look clean because the fittings are brand new, but they are almost always coated in silicone smears, tile adhesive residue, plumber’s flux, and fine grit from cutting work. Our team cleans every bathroom from ceiling to floor — shower screens, basin bowls, toilet pans, floor traps, tile grout lines, and the often-forgotten areas behind toilet cisterns and under basin pedestals. In the kitchen, we clean inside and outside every cabinet, wipe down all installed appliance surfaces, descale any fittings that have watermark buildup from contractor testing, and clean the hob and hood area where construction dust has settled onto adhesive surfaces. Floor traps are cleared and flushed, and our team checks that no debris has been left in the U-bends — a common issue after renovation that causes slow drainage in the first few weeks of living in a new unit. We also clean and buff all glass shower screens to remove the silicone haze that dulls new glass almost immediately after installation.
Step 5 — Final Polish, Inspection, and Handover Check
Once every surface has been treated and cleaned, our team does a full room-by-room polish and final wipe-down — floors are mopped with a clean mop and appropriate floor finish, all glass surfaces are buffed streak-free, and stainless steel fittings are wiped with a protective cloth to bring out their shine. We then walk through every room with the homeowner or their representative before we pack up, because we believe the handover is as important as the clean itself. If anything doesn’t meet your standard, we address it on the spot — no callbacks needed, no excuses.
Why Singapore Homeowners Choose Doctor Clean
After completing hundreds of post-renovation cleans across Singapore — from Punggol BTO flats to Orchard Road condos and Bukit Timah landed homes — we know what it takes to actually deliver a move-in-ready result. Here’s what our clients consistently tell us makes the difference:
- Genuinely move-in-ready results: We don’t consider the job done until floors are clean underfoot, glass is streak-free, and there’s no visible dust on any surface — not just a surface wipe that looks good in dim light.
- Correct products for Singapore renovation finishes: We use pH-appropriate cleaners matched to your specific floor and tile type — safe for marble, porcelain, timber laminate, and vinyl — because the wrong cleaner on a new floor can void your contractor’s warranty.
- Trained team with renovation cleaning experience: Our cleaners are specifically trained in post-renovation techniques, not general household cleaning staff sent to an unfamiliar job. We’ve seen every renovation scenario across HDB, BTO, condo, EC, and landed properties.
- Transparent, stress-free process: We quote honestly based on unit size and renovation scope, arrive on time, and keep you updated throughout — because you’ve already dealt with enough contractor stress during the renovation itself.
Frequently Asked Questions
How soon after renovation can I book a post-renovation cleaning in Singapore?
You can book as soon as your contractors have fully vacated and all installation work is complete — ideally before you move any furniture in. Cleaning an empty unit allows our team to reach every surface without obstruction, which produces a significantly better result. If your contractors are doing a phased handover, let us know and we can advise on the best timing. Most clients book 1-3 days after contractor completion.
How long does a post-renovation clean take for an HDB flat?
For a standard 4-room HDB flat with full renovation, our team typically takes 6 to 8 hours for a thorough post-renovation clean. Larger units — 5-room HDB, executive flats, or condos above 1,200 square feet — generally require 8 to 12 hours or a two-day clean depending on scope. We always give you a realistic time estimate upfront so you can plan your move-in date accordingly.
Will post-renovation cleaning remove all the cement haze from my tiles?
In the vast majority of cases, yes — our acidic treatment process is highly effective at removing cement haze and grout residue from porcelain and ceramic tiles. However, if cement haze has been left untreated for several months, it can etch into certain tile finishes and may require a more intensive restoration process. This is why we always recommend booking your post-renovation clean as soon as work is completed, not weeks later.
Do I need to be home during the post-renovation cleaning?
You don’t need to be present throughout the clean, but we do recommend being available for the initial walk-through and the final inspection at the end. Many of our clients drop off their keys, run their errands, and return when we message them to say we’re wrapping up. We treat your new home with complete care and respect throughout — your renovation investment is in safe hands.
Ready to get this sorted? WhatsApp Doctor Clean — honest quote, no hard sell, fast reply.
 Doctor Clean