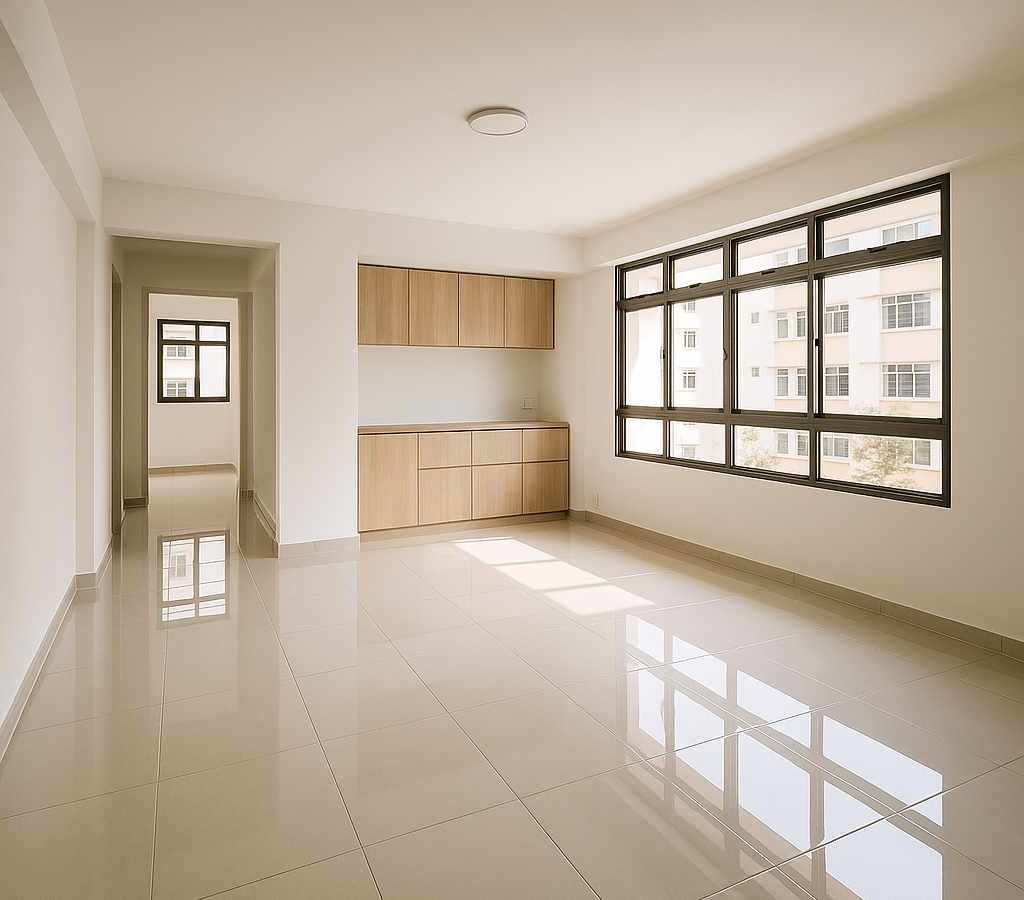
Post-renovation cleaning Singapore is one of the most physically demanding and detail-intensive jobs a homeowner will ever face — and most people massively underestimate it. That fine white construction dust doesn’t just sit on the floor; it infiltrates every cabinet shelf, every light fitting, every grout line in your brand-new tiles. Our team at Doctor Clean has walked into hundreds of newly renovated HDB flats, BTOs, condos, and landed homes across Singapore, and we know exactly what it takes to hand a home back in truly move-in condition.
A Real Story — A Toa Payoh HDB 4-Room After A Full Reno
Mr and Mrs Lim had just completed a full gut renovation of their HDB 4-room flat in Toa Payoh — new flooring, a full kitchen overhaul, hacked walls, and fresh paint throughout. They spent two weekends trying to clean it themselves using mops, household sprays, and a rented vacuum, but the white powdery dust kept reappearing on surfaces they had already wiped down, and the new porcelain tiles still looked hazy no matter how many times they mopped. When they called Doctor Clean, our team arrived with industrial HEPA vacuums, microfibre systems, and the right alkaline solutions to break down the cement haze on their tiles — and within a single full-day session, the flat was genuinely spotless. Mrs Lim told us it was the first time she actually felt excited to move in, rather than exhausted by the thought of it.
Step 1 — Assess Every Room Before Touching Anything
Before our team touches anything with a cloth or a mop, we do a full walkthrough of the entire unit. We’re looking for the concentration of dust zones, any paint splatter on windows or tiles, cement smears on grout, silicone excess around sanitary ware, and whether any surfaces — like raw timber shelving or uncoated concrete — need special treatment rather than standard cleaning agents. This assessment phase takes 15 to 30 minutes depending on unit size, but it’s what separates a professional post-renovation clean from a DIY attempt that just moves dust around. In our experience cleaning hundreds of Singapore homes, skipping this step is how teams end up damaging new surfaces with the wrong chemical or scratching fresh paintwork with abrasive tools.
Step 2 — Remove All Loose Debris and Construction Dust First
The golden rule of post-renovation cleaning is this: dry before wet. If you mop or wipe before extracting all the loose dust and debris, you’re turning fine construction particulate into a paste that clogs grout lines and smears across new surfaces. Our team uses industrial-grade HEPA dry vacuums on every surface — floors, walls, built-in cabinet interiors, windowsill ledges, aircon ledges, and ceiling cornices — before any wet cleaning begins. We pay particular attention to:
- Inside every built-in cabinet, drawer, and wardrobe compartment where dust settles invisibly
- Air-conditioning ledges, ventilation grilles, and the tops of all doorframes
- Recessed lighting fixtures and false ceiling cove gaps where dust accumulates and then falls later
“One thing most homeowners don’t realise is that renovation dust is ultra-fine — finer than ordinary household dust — and it takes multiple passes with a HEPA vacuum to fully extract it from porous surfaces and grout. A standard domestic vacuum simply recirculates it back into the air, which is why the flat feels dusty again the next morning even after you’ve cleaned.”
Step 3 — Tackle Cement Haze, Paint Splatter, and Silicone Residue
This is the step that most DIY efforts fail at, because it requires the right chemistry matched to the right surface — and the wrong combination can permanently damage brand-new tiles, glass, or fittings. Cement haze on porcelain or homogeneous tiles requires a diluted acidic cleaner applied carefully, left to dwell, and then neutralised before rinsing — the concentration and dwell time depends entirely on the tile type and the severity of the haze. Paint splatter on glass windows, aluminium window frames, and floor tiles needs to be lifted mechanically with the correct plastic or steel tool at the right angle, not scraped aggressively, which scratches the surface. Silicone excess around your bathroom basin, bathtub, or kitchen sink needs to be removed cleanly with a silicone remover and a fine blade, leaving the joint looking factory-fresh rather than jagged. Our team carries a full range of specialist products for each of these scenarios, and we always test on an inconspicuous area first when working on natural stone, timber laminate, or any surface where the renovation contractor hasn’t confirmed the finish.
Step 4 — Deep Clean All Wet Areas, Kitchen, and New Fittings
Newly installed bathrooms and kitchens in Singapore homes almost always carry grouting residue, plumber’s flux, metal shavings from pipe cutting, and fingerprint marks from the installation team — none of which a standard wipe-down removes. Our team cleans every toilet bowl, basin, shower screen, tap fitting, and tile surface using appropriate non-abrasive cleaners that protect the finish of brand-new chrome, matte black, or brushed gold fixtures, which are increasingly common in Singapore renovations and are easily scratched by the wrong sponge. In the kitchen, we clean inside and outside every cabinet, wipe down the new hob and hood (even if they look clean — they often have protective film residue or installation grease), and ensure the sink and countertop are free of grouting dust and sealant smears. We also flush and wipe down the inside of new washing machine compartments and any built-in oven cavities that were fitted during the renovation. The goal is that when you put your first set of plates into that new kitchen cabinet, there’s nothing in there you didn’t put there yourself.
Step 5 — Final Detail Pass and Move-In Readiness Check
Once all the heavy cleaning is done, our team does a full detail pass — wiping down every light switch plate, socket cover, door handle, and skirting board edge to remove the last fingerprints and dust traces that always appear after the main clean. We also check windows from the inside with light at an angle to catch any remaining glass smears, and do a final floor mop with a clean microfibre head to leave the tiles with a genuine shine rather than a streaky finish. Before we leave, we walk the homeowner through every room so they can see exactly what was done and raise anything they want us to revisit — because a post-renovation clean is one of the few cleans where you’ll remember exactly how the home looked on day one, and we want that memory to be a good one.
Why Singapore Homeowners Choose Doctor Clean
When you’ve just spent tens of thousands of dollars on a renovation, the last thing you want is a cleaning crew that damages your new surfaces or misses half the job. Here’s why homeowners and property agents across Singapore trust Doctor Clean for post-renovation cleans:
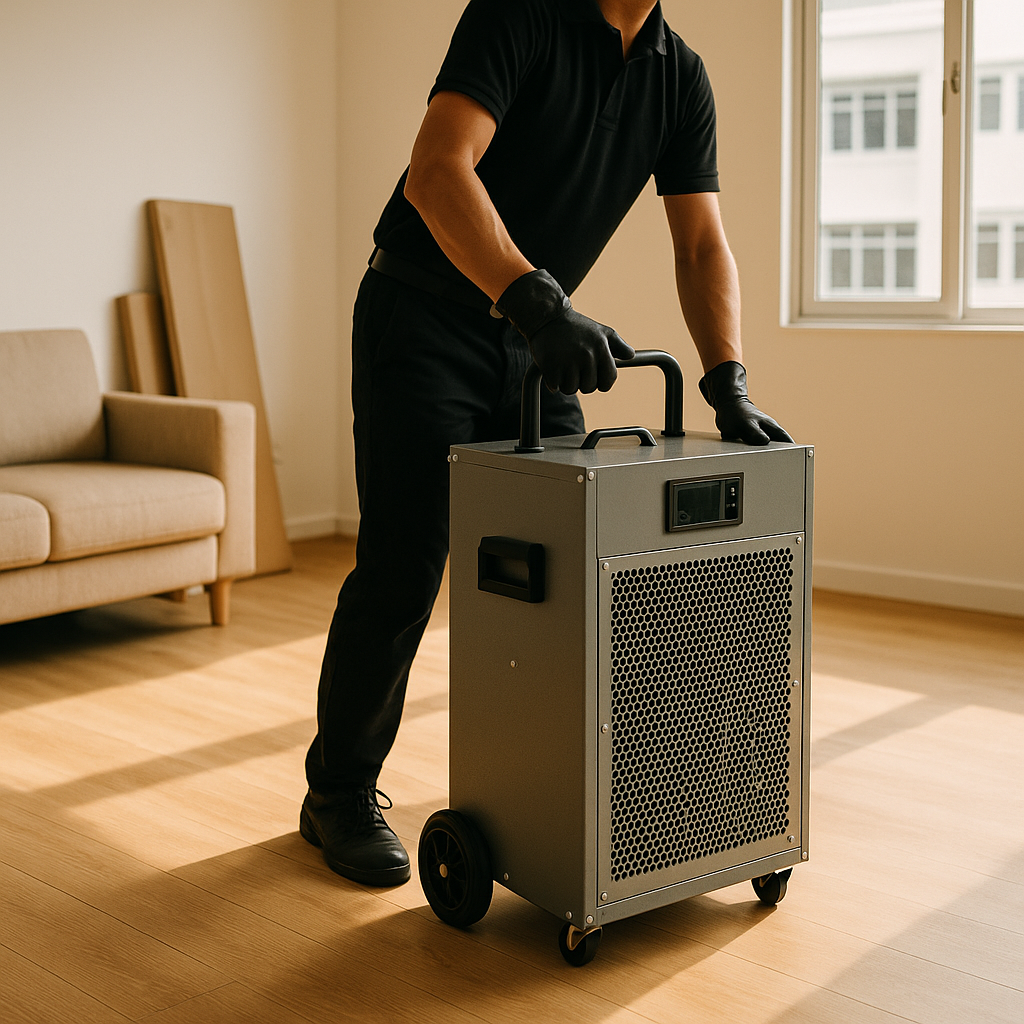
- Specialist equipment for renovation dust: We use industrial HEPA vacuum systems — not domestic models — so the ultra-fine construction dust is actually removed from your home, not just redistributed.
- Right chemicals for Singapore’s renovation finishes: From homogeneous tiles to Calacatta marble surfaces, engineered timber to matte porcelain, we match the cleaning chemistry to the surface so your new finishes are protected, not stripped.
- Experienced team, not a grab-and-go service: Every Doctor Clean crew member is trained specifically in post-renovation procedures — we know where renovation contractors leave hidden mess, and we go looking for it.
- Transparent, honest pricing: We quote based on actual unit size and renovation scope — no vague packages that balloon in cost once our team arrives. What we quote is what you pay.
Frequently Asked Questions
How long does post-renovation cleaning take for an HDB flat in Singapore?
For a standard HDB 4-room flat with a full renovation, expect our team to take between 6 to 10 hours depending on the extent of the work and how much debris the renovation contractor left behind. A BTO 3-room with a lighter renovation scope may be done in 4 to 6 hours, while a larger 5-room or executive flat with full hacking and new wet areas can run a full day or into a second session. We always give a realistic time estimate after assessing the unit — we’d rather be honest upfront than rush a job that deserves proper attention.
Can I do post-renovation cleaning myself instead of hiring a professional?
You can tackle some of it, but the core challenges — cement haze on tiles, construction dust embedded in grout, silicone residue on sanitary ware, and paint splatter on glass — genuinely require the right equipment and chemicals that aren’t available in hardware stores. Most homeowners who try it themselves find the dust keeps reappearing for days afterwards because fine renovation particulate recirculates without a HEPA-grade vacuum. If your renovation was light — new paint only, for example — a thorough DIY clean is possible, but for anything involving hacking, new tiling, or wet area installation, a professional post-renovation clean saves time and protects your new finishes.
Is post-renovation cleaning in Singapore expensive?
Pricing varies by unit size, renovation scope, and the level of detail required — a superficial clean of a lightly renovated condo studio costs very differently from a full post-reno deep clean of a landed home in Bukit Timah. Doctor Clean provides honest, itemised quotes with no hidden add-ons, and most HDB 4-room to 5-room post-reno cleans fall within a range that homeowners consider fair given the time and effort involved. WhatsApp us with your unit size and renovation type and we’ll give you a straight number.
When should I book post-renovation cleaning — before or after the renovation contractor does their final clean?
Book Doctor Clean after the renovation contractor has completed their basic sweep-up — that first clean removes the bulk debris and large waste, but it never removes the fine dust, cement haze, or chemical residues that require specialist treatment. Most renovation contractors in Singapore do a cursory mop at the end of their job; that’s not the same as a professional post-renovation deep clean. Ideally, schedule us 1 to 2 days after the contractor hands over the keys so you’re not cleaning around ongoing snag work.
Ready to get this sorted? WhatsApp Doctor Clean — honest quote, no hard sell, fast reply.
Tags
 Doctor Clean