
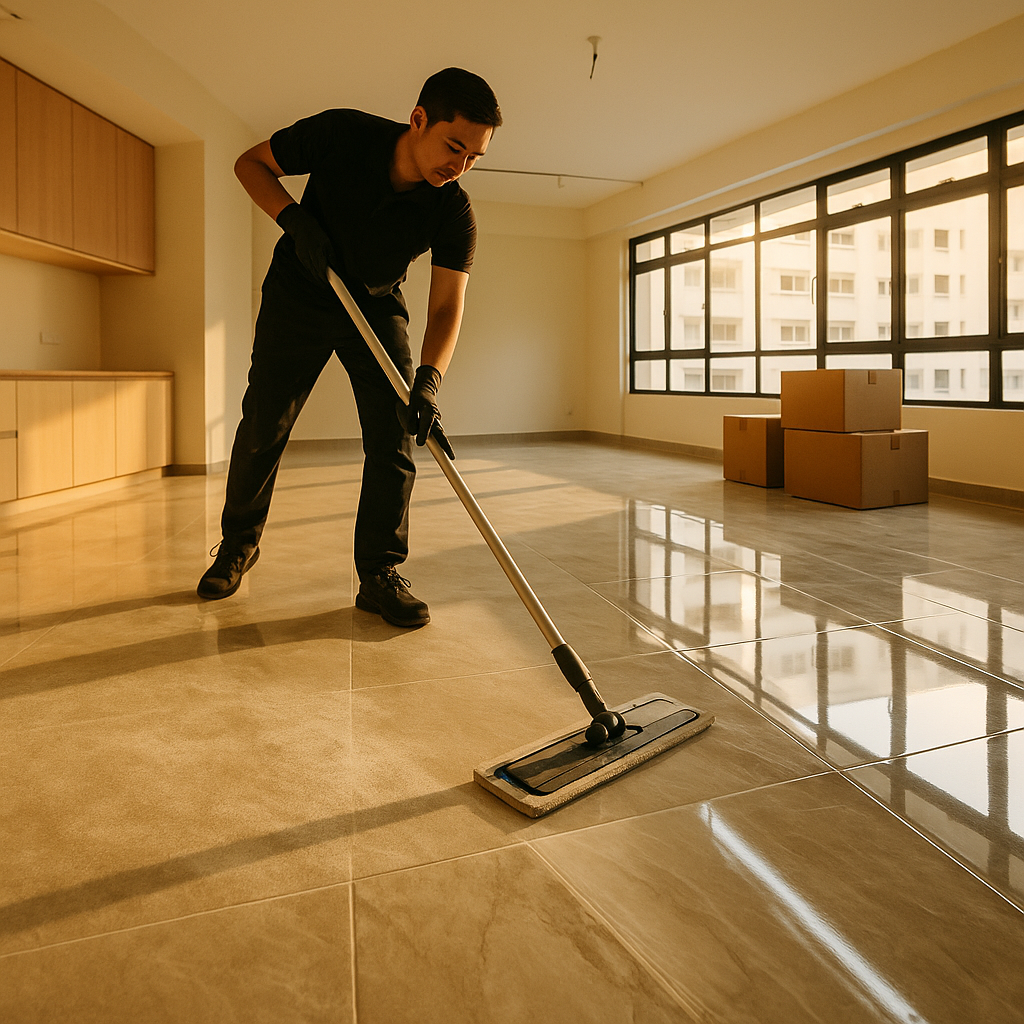
Renovation dust in Singapore does not behave the way most homeowners expect — it settles into grout lines, coats every air-con ledge, and works itself into corners you won’t notice until move-in day. Knowing how to clean after renovation in Singapore properly is the difference between a home that looks finished and one that still feels like a construction site weeks later. Our team at Doctor Clean has handled post-reno cleanups across hundreds of HDB flats, BTOs, condos, and landed properties, and what we’ve learned would surprise even the most hands-on homeowner.
A Real Story — A Tampines BTO owner who thought the contractor would handle it
A young couple who had just collected their keys to a 4-room BTO in Tampines called us in a mild panic three days before their scheduled move-in. Their renovation contractor had done a basic sweep and wipe-down, but fine white dust had already re-settled on every surface, the new homogeneous tile floor had a stubborn milky grout haze across it, and silicone smears were visible along all the bathroom and kitchen edges. They had spent a full Saturday scrubbing with a mop and household detergent, only to push the dust around and leave streaky watermarks on the tiles. When our team arrived, we completed a full post-reno deep clean over one day — the grout haze lifted cleanly, the silicone residue came off without scratching the surfaces, and the couple told us the flat felt like it was finally theirs for the first time.
Step 1 — Assess the full scope before touching anything
Before our team touches anything, we do a proper walkthrough of the entire unit — not a quick glance, but a systematic room-by-room assessment with torchlight. Renovation dust is deceptive: it looks cleared when light hits surfaces at one angle but reveals itself completely under a side-lit torch beam. We check inside built-in cabinets, on top of door frames, behind newly installed toilets, and along the track channels of sliding doors and windows. This initial assessment tells us which areas need dry treatment first and which surfaces require specialist products — skipping this step is exactly why DIY post-reno cleaning so often moves the problem around rather than removing it.
Step 2 — Dry dust removal before any wet cleaning begins
The single biggest mistake homeowners make after renovation is going straight in with a wet mop. Water activates fine cement and plaster dust and turns it into a paste that locks into grout lines and tile surfaces — making the problem significantly harder to resolve. Our team always starts dry, using industrial HEPA vacuum cleaners to extract dust from floors, walls, ceilings, ledges, and air-con fan coil units before a single drop of water is introduced. The surfaces and areas we cover in this dry phase include:
- All flooring surfaces — tiles, vinyl, timber laminate — vacuumed with appropriate attachments before mopping
- Air-con ledges, curtain rod brackets, light fixture housings, and ceiling fan blades
- Inside kitchen cabinets, wardrobe interiors, and drawer tracks where fine dust accumulates invisibly
- Window tracks, door frame tops, and skirting board edges where dust packs densely
“One thing most homeowners don’t realise is that renovation dust is partly silica-based, which means vacuuming must come before mopping — always. If your vacuum doesn’t have a HEPA filter, you’re recirculating the fine particles back into the air and they’ll re-settle within hours.”
Step 3 — Tackle grout haze and tile surfaces with the right chemistry
Grout haze is the milky, dull film left on new tiles after the grouting process, and it is one of the most common complaints we hear from newly renovated Singapore homeowners — especially those with large-format porcelain or marble-look tiles that show every imperfection. Standard household floor cleaners do almost nothing against grout haze because it is a mineral deposit, not a dirt layer. Our team uses a diluted acidic grout haze remover at the correct concentration for the specific tile type — the ratio matters enormously, because too strong a solution can etch polished surfaces and too weak a solution simply won’t work. We apply the solution in sections, allow it to dwell for the appropriate time, agitate with a stiff grout brush or white pad, then rinse thoroughly and immediately to stop any residual acid from sitting on the surface. For HDB and condo units with homogeneous tiles — which are by far the most common in Singapore renovations — this process typically takes two to three passes on heavily hazed areas before the tile’s true finish emerges cleanly.
Step 4 — Remove silicone smears and construction adhesive residue
Silicone residue is left along bathroom edges, kitchen backsplash joints, and window frames after renovation, and it is notoriously difficult to remove cleanly without the right technique. Our team uses a combination of a plastic scraper, silicone remover solvent, and fine abrasive pads matched to the surface material — what works safely on a ceramic tile will damage a painted wall or a glass shower panel if applied incorrectly. We also deal with construction adhesive spots, paint flicks on floor tiles, and cement splatter on glass windows and mirrors, all of which require different approaches and different dwell times. In our experience, rushing this step — or using a metal blade on polished surfaces — is what causes the scratches and permanent marks that homeowners discover only after the renovation team has left. We take this stage slowly and methodically, and it shows in the final result.
Step 5 — Final detail clean, sanitation, and handover inspection
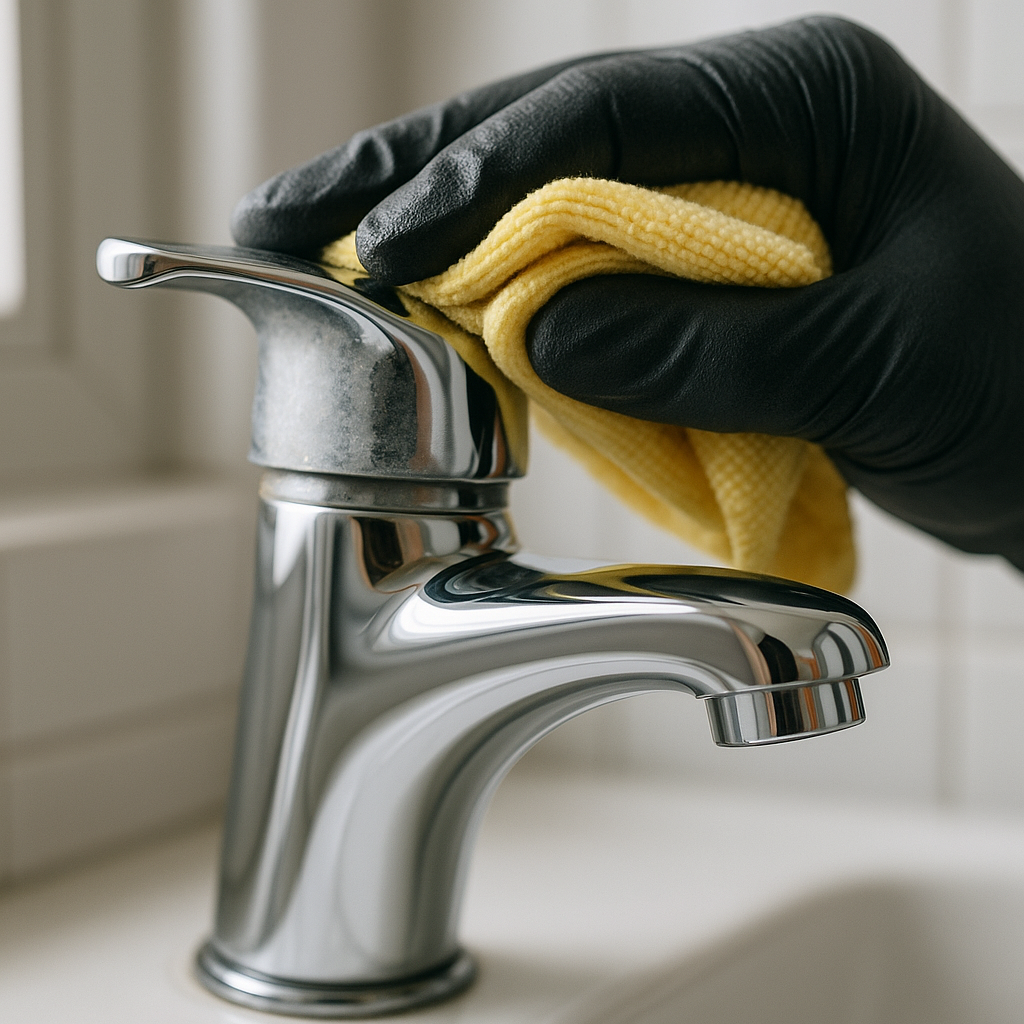
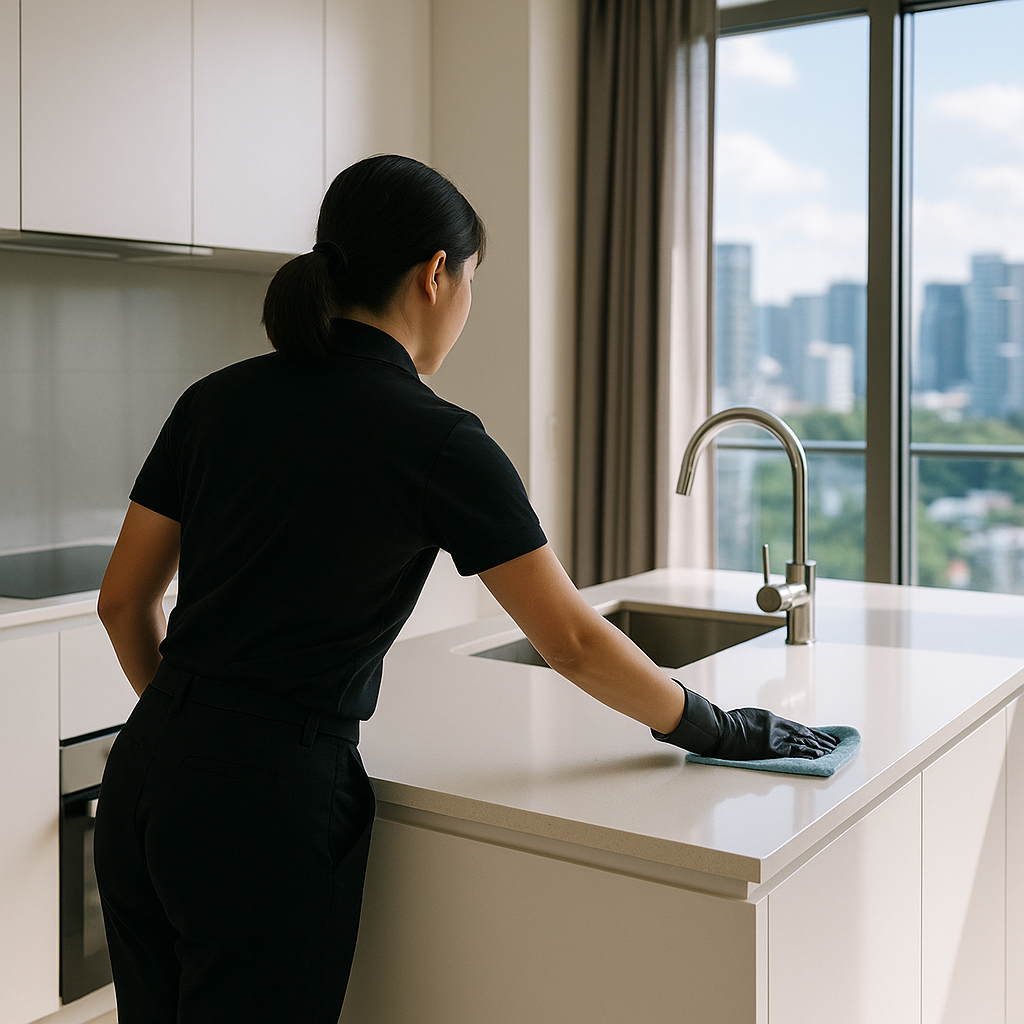
Once the heavy-duty work is done, our team moves into a detailed finishing clean that covers every surface a homeowner will actually touch — light switches, power points, door handles, tap fixtures, shower screens, kitchen countertops, and new cabinetry fronts. We sanitise bathroom and kitchen surfaces with appropriate disinfectants, wipe down all new appliance exteriors, and clean the interior of built-in ovens or refrigerators if they’ve been exposed to renovation dust. Before we leave, we do a final walkthrough with the homeowner or their representative, torchlight in hand, so they can see exactly what has been done and flag anything they want us to revisit — we don’t consider the job done until the client is satisfied.
Why Singapore Homeowners Choose Doctor Clean
Post-renovation cleaning is one of the most technically demanding cleaning jobs in a home, and getting it right requires experience, the right equipment, and products matched to Singapore’s most common renovation materials. Here’s what our clients consistently tell us makes the difference:
- Grout haze and silicone removal done properly: We don’t just clean the surface — we identify and treat the specific residues left by renovation work, so your new tiles and fittings actually look the way they were designed to.
- HEPA-grade equipment as standard: Our industrial vacuums capture fine renovation dust rather than recirculating it, which matters especially in Singapore’s humid climate where dust that settles twice is harder to lift the second time.
- Safe products for new surfaces: We use surface-appropriate chemistry — nothing harsh on your new vinyl flooring, nothing abrasive on your fresh paintwork, nothing that voids your renovation warranty materials.
- Flexible scheduling around your move-in date: We understand the pressure of BTO and condo handover timelines in Singapore, and we work around your schedule — including weekends — so your move-in day stays on track.
Frequently Asked Questions
How long does post-renovation cleaning take for a Singapore HDB flat?
For a standard 3-room or 4-room HDB flat that has undergone full renovation, our team typically takes between six and ten hours for a thorough post-reno clean — longer if there is heavy grout haze across all tiled areas or significant silicone and adhesive residue. Larger 5-room flats, executive apartments, and condos with more bathrooms will naturally take more time. We always provide a time estimate after understanding the scope of your renovation, so there are no surprises on the day.
Can I do post-renovation cleaning myself instead of hiring a professional?
You can handle some of it — basic dust wiping, vacuuming accessible surfaces, and general mopping — but grout haze removal, silicone residue, and construction adhesive really do require specialist products and technique. Using the wrong cleaner on new tiles or flooring can cause permanent etching, discolouration, or surface scratches that cost significantly more to fix than a professional clean would have. If your renovation involved extensive tiling or bathroom waterproofing works, we strongly recommend professional post-reno cleaning for at least those areas.
Do I need to be home during the post-renovation clean?
Many of our clients in Singapore hand us the keys and return when the job is done — this is especially common for BTO owners who are still living elsewhere during the renovation period. We document our work with before-and-after photos and do a final walkthrough inspection before locking up. If you prefer to be present, that’s equally fine — we’re happy to walk you through what we’re doing and why.
What’s the difference between post-renovation cleaning and a regular deep clean?
A standard deep clean addresses accumulated dirt, grease, and grime in a lived-in home. Post-renovation cleaning specifically targets construction residues — fine silica dust, grout haze, cement splatter, silicone smears, paint flicks, and adhesive spots — that require different tools, products, and techniques entirely. Booking a regular deep clean after renovation is a common mistake that leaves these construction residues behind, which is why we treat post-reno as a distinct service with its own process and equipment.
Ready to get this sorted? WhatsApp Doctor Clean — honest quote, no hard sell, fast reply.
 Doctor Clean