
You’ve sprayed the fabric freshener. You’ve opened the windows. Maybe you’ve even flipped the cushions. But that smell on your couch — musty, stale, faintly sour — just keeps coming back. The reason? The odour isn’t sitting on the surface. It’s deep inside the fabric.
Why does a couch smell in the first place?
A sofa absorbs everything — sweat, food particles, pet dander, dust mites, spilled drinks, and years of everyday use. Over time, all of that works its way past the outer fabric and settles into the foam padding and inner fibres beneath. That’s where bacteria grow, moisture gets trapped, and odours take root.
Fabric sprays and deodorisers only mask what’s on the surface. They evaporate in hours and do nothing to the source of the smell sitting centimetres below. To actually fix it, you need to get in deep — and pull it out.
Step 1 — Dry vacuuming the surface first
Before any wet treatment goes near the fabric, the couch needs to be thoroughly vacuumed — every cushion, every seam, every crevice. This lifts loose debris, pet hair, dust, and dry particles that would otherwise turn into mud the moment moisture is applied. It’s a small step that makes everything that follows far more effective.
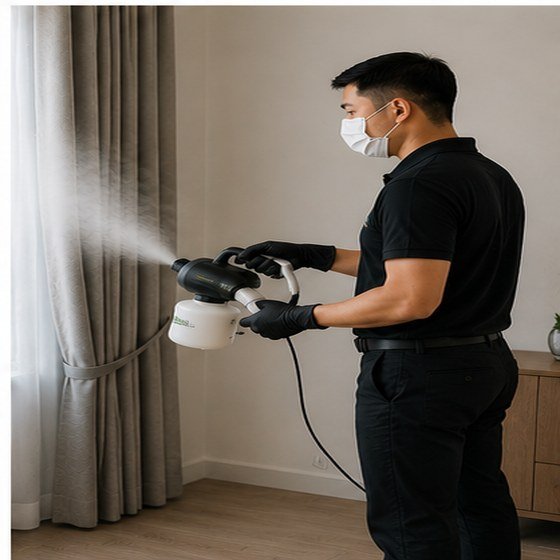
Step 2 — High pressure steaming to break down what's inside
This is where Doctor Clean’s process starts to work differently from a standard wipe-down.
High pressure steam is pushed into the fabric at temperature — hot enough to kill bacteria, dust mites, and the microorganisms that cause odour at their source. The pressure drives the steam past the outer weave and into the padding beneath, breaking down the organic matter that’s been building up over months or years. It also loosens stains and grime that have bonded to the fibres, making them far easier to extract in the next step.
For pet owners, this stage is especially effective — steam neutralises the proteins in urine and dander that regular cleaning products can’t fully break down.
Doctor Clean's couch cleaning process Dry vacuum → high pressure steam → deep extraction → air dry. No harsh chemicals, no perfume cover-up. Just a genuinely clean sofa. Suitable for fabric sofas, L-shaped sectionals, sofa beds, and most upholstered furniture.
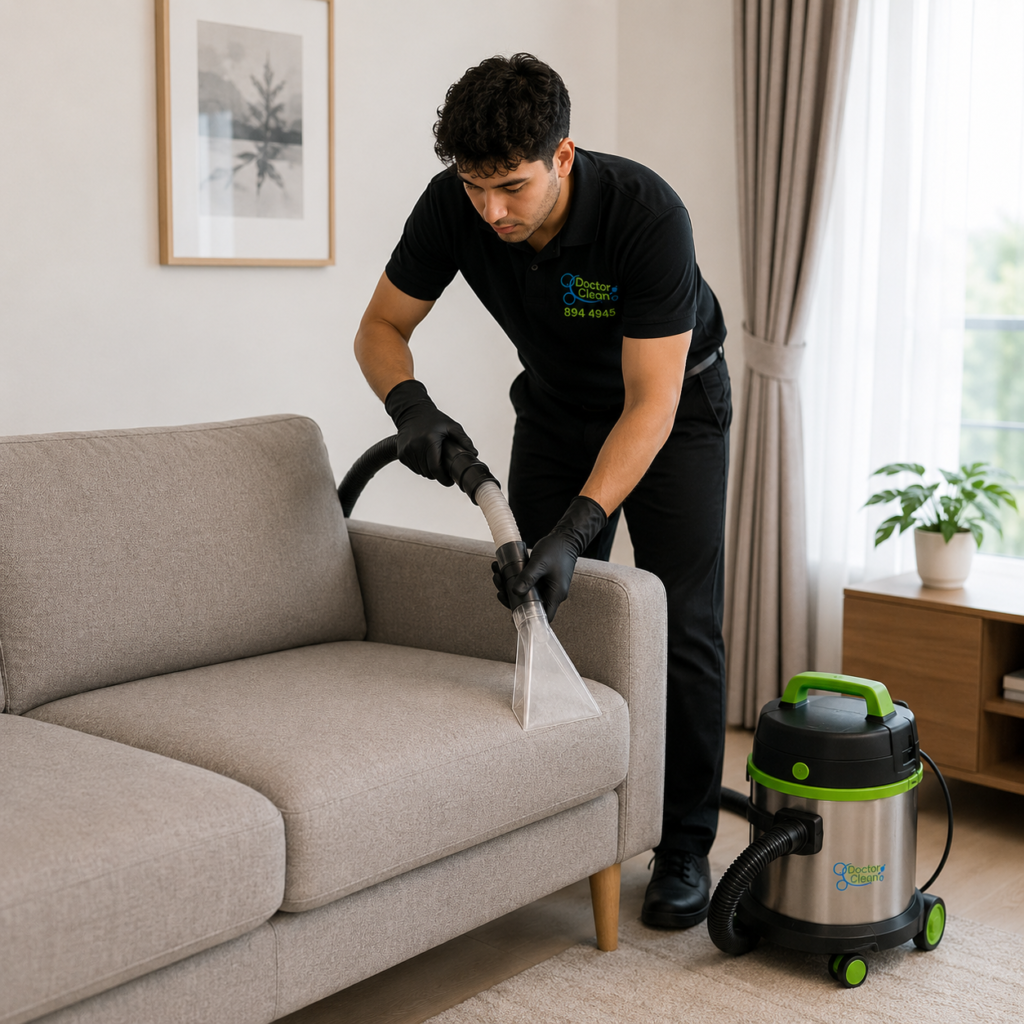
Step 3 — Deep extraction to pull it all out
Steaming loosens everything. Deep extraction removes it.
Doctor Clean uses a powerful extraction machine that draws moisture, dissolved grime, loosened particles, and odour-causing residue out of the fabric — from deep within the cushion, not just the surface layer. Think of it like a pressure wash followed by a powerful vacuum, working together in one pass.
What comes out of the extraction tank after a heavily used sofa is cleaned is genuinely eye-opening — dark, murky water that was sitting inside what looked like a “clean enough” couch. Most people don’t realise how much their sofa is holding until they see it extracted.
Step 4 — Drying and the result
After extraction, the sofa is left damp but not wet — the machine pulls out the vast majority of moisture as part of the process. With good airflow, most sofas are dry and ready to use within a few hours.
The smell? Gone. Not masked — gone. Because the source has been physically removed from the fabric, there’s nothing left to produce the odour. What you’re left with is a couch that feels fresh, sits cleaner, and smells the way it should.
When should you get your couch professionally cleaned?
If you have pets, young children, or anyone in the home with allergies — once every six months is a good rhythm. For most households, once a year keeps a sofa in genuinely good condition. If there’s been a spill, an accident, or the smell has become noticeable to guests, don’t wait — the longer it sits, the deeper it goes.
A fabric freshener buys you a day. Doctor Clean buys you months.

 Doctor Clean
Great advice! Getting a professional cleaning before moving in is such a smart move. It’s definitely worth the investment for a fresh start in a new home.