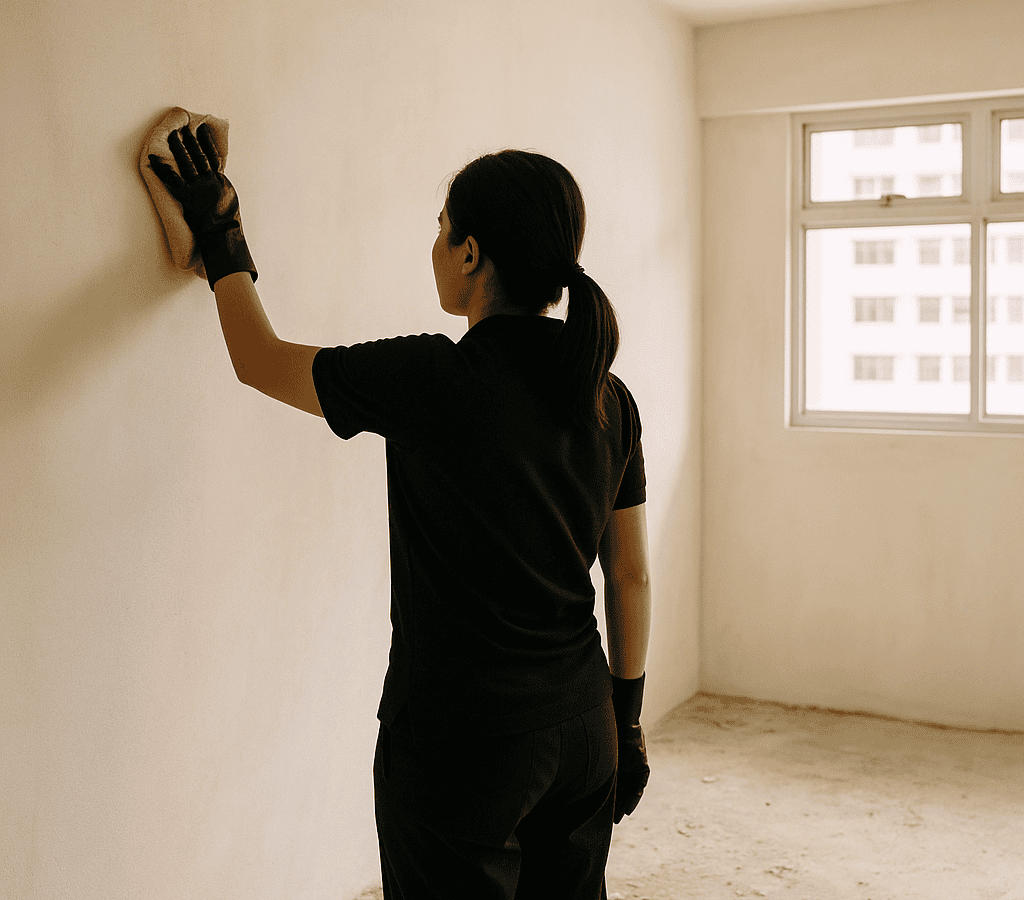
Getting the keys to your new BTO is one of the most exciting moments for any Singapore family — but what most homeowners don’t expect is just how filthy the flat is straight after renovation. Cement dust, tile grout haze, silicone smears, sawdust embedded in every corner, and a fine chalky film coating every surface from floor to ceiling. Proper BTO renovation cleaning Singapore is not a quick mop and wipe — it’s a structured, multi-stage process that our team at Doctor Clean has refined across hundreds of new flats from Punggol to Tengah to Tampines.
A Real Story — A Young Couple in Bukit Batok Who Almost Moved Into a Dusty Flat
Earlier this year, a newlywed couple collecting the keys to their Bukit Batok 4-room BTO called us just three days before their planned move-in date. Their ID had handed over the unit, and on first inspection they were horrified — white cement haze covered the marble-look tiles, the kitchen cabinets had a greasy sawdust residue inside every drawer, and the bathroom grout lines were already stained with construction dirt. They’d spent the previous evening trying to wipe it down themselves with a mop and some household cleaner, but the dust just smeared across the floor and the tiles still looked dull and filmy. Our team arrived the next morning with industrial vacuums, microfibre systems, and the right chemical agents for post-reno residue, and by early afternoon the couple walked into a flat that genuinely looked the way it did in their ID’s 3D render. The wife later told us it was the first time the flat actually felt like home — not a construction site.
Step 1 — Assess Every Room Before Touching Anything
Before our team touches a single surface, we do a full walk-through assessment of the entire unit. This is something most homeowners skip when they try to DIY post-reno cleaning — they grab a mop and start at the front door without understanding the scope of what they’re dealing with. We check which surfaces have cement haze, where silicone excess has been left by contractors, which areas have the heaviest dust settling, and whether any timber surfaces, carpentry edges, or vinyl flooring require special treatment. Getting this picture right at the start means we sequence the job correctly and don’t end up pushing dust from one room into a freshly cleaned space.
Step 2 — Remove All Dry Debris and Renovation Dust First
The single biggest mistake people make with post-renovation cleaning is going straight in with water and mopping. Wet mopping over a layer of cement dust and fine construction particles just creates a paste that smears across your new tiles and dries into a haze that’s twice as hard to remove. Our team always dry-removes all loose debris before any wet cleaning begins. We use HEPA-filter industrial vacuums to pull dust out of corners, track lighting housings, cabinet interiors, and window tracks — places a regular home vacuum simply cannot reach effectively.
- Vacuum all ceiling cornices, light fixture recesses, and air-con ledges where fine dust settles
- Clear all window tracks, sliding door grooves, and door frame edges of grit and debris
- Remove sawdust and loose plaster from inside all kitchen and wardrobe cabinets before any wiping begins
“One thing most homeowners don’t realise is that BTO renovation dust is not ordinary household dust — it contains fine silica particles from cement and tile cutting that can permanently scratch glass and polished surfaces if wiped dry without proper vacuuming first. Doctor Clean always vacuum before we wipe, never the other way around.”
Step 3 — Treat Cement Haze and Grout Smear on All Hard Surfaces
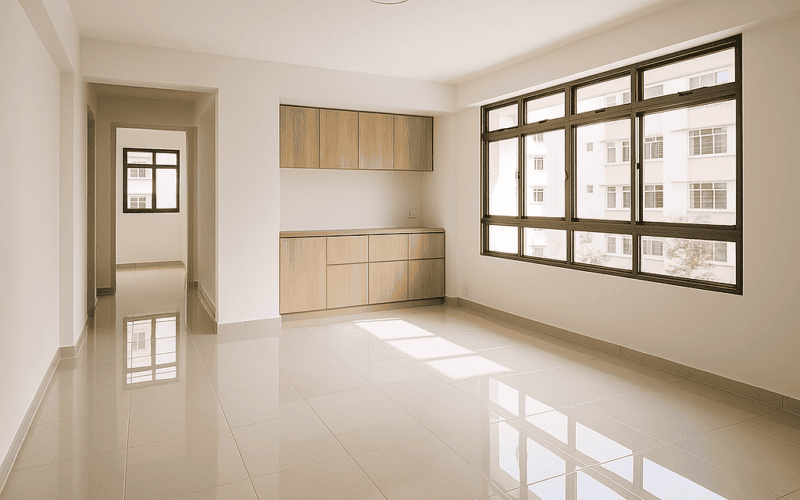
Cement haze is the chalky, dull film left on tiles, glass, and even stainless steel after contractors grout the floors and walls. It looks like the tile has gone flat or cloudy, and many homeowners assume their new tiles are just low quality — but in almost every case, it’s cement haze that hasn’t been properly removed. Our team uses pH-appropriate cleaning agents specifically formulated to dissolve calcium-based construction residue without etching the tile surface or dulling the finish. We apply the solution in sections, allow it appropriate dwell time, and then scrub with the right pad type for that specific surface — a process that’s very different depending on whether your new BTO has porcelain large-format tiles, homogeneous tiles, or marble-look ceramic. We also treat grout lines at this stage, removing discolouration caused by construction foot traffic so that your grout looks as crisp and clean as it should on day one. This step alone typically takes the longest and makes the most dramatic visual difference — it’s the step that makes clients stop and photograph their floors.
Step 4 — Deep Clean Bathrooms, Kitchen, and All Wet Areas
New BTO bathrooms and kitchens need specific attention because contractors often leave silicone smears on toilet bowls, basin edges, shower screens, and kitchen backsplash tiles. Silicone residue doesn’t respond to regular household cleaners — it needs to be carefully scraped and dissolved without damaging the sealant lines that are supposed to be there. Our team cleans every bathroom fixture individually, including the inside of the toilet bowl (which often has cement and adhesive residue from installation), the shower head and fittings, the vanity basin, and all mirror and glass surfaces. In the kitchen, we wipe down every cabinet interior and exterior, clean the sink and tap fittings, degrease the stovetop area even if it’s brand new, and ensure the hood filters and vent areas are free of construction dust that could affect performance. For BTO flats in high-humidity corridors like those near Sengkang or Pasir Ris, we also pay extra attention to any early mould risk areas around window seals and bathroom ceiling edges — because catching these on day one saves homeowners from a much bigger problem later.
Step 5 — Final Wipe-Down, Glass Polish, and Handover Inspection
Once all the major cleaning stages are complete, our team does a full final pass of every room — wiping all skirting boards, door frames, light switch plates, power socket covers, and window panes with clean microfibre cloths. Glass surfaces including windows, shower screens, and any glass panel features are polished streak-free at this stage. We finish with a handover walk-through with the homeowner so they can inspect every area and flag anything they want us to revisit — because a BTO is a major investment and we want every client to feel completely satisfied before we pack up and leave.
Why Singapore Homeowners Choose Doctor Clean
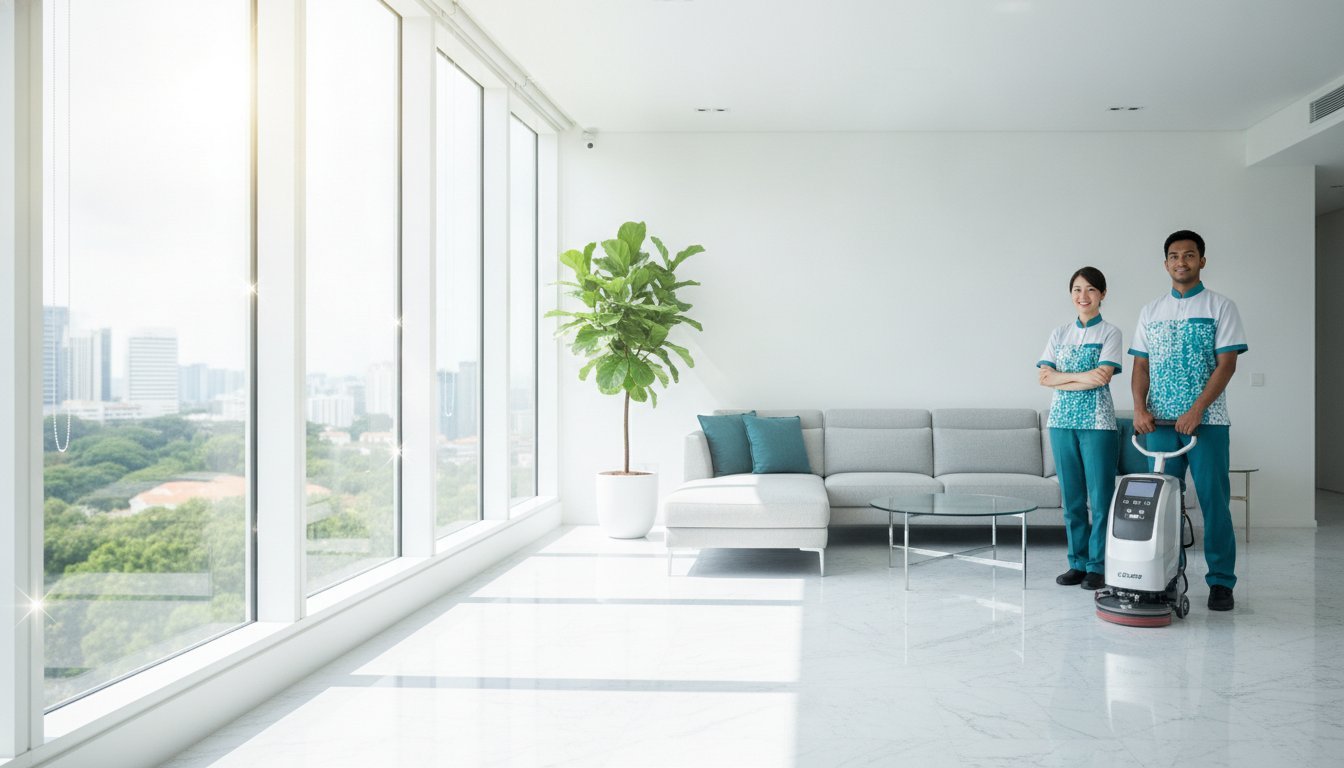
We’ve done post-renovation cleaning for BTO homeowners, EC buyers, condo owners, and landed property families across Singapore, and the feedback we hear most often is that hiring a professional team saves them days of stress and delivers a result they genuinely couldn’t achieve on their own. Here’s what that actually means in practice:
- Real post-reno expertise: Our team knows the difference between cement haze, silicone smear, and grout residue — and treats each one correctly, so your new tiles and surfaces aren’t scratched or dulled by the wrong method.
- Full-unit scope, nothing skipped: We clean inside cabinets, window tracks, ceiling ledges, and bathroom fittings — not just the obvious floor and countertop surfaces that DIY attempts typically cover.
- Safe products for new homes: We use non-toxic, surface-appropriate cleaning agents that won’t damage your new carpentry finishes, vinyl flooring, or marble surfaces — critical for BTO flats where everything is brand new and easily damaged.
- Flexible scheduling around your move-in date: We work with your timeline — whether you need us the day after your ID handover or the morning before the movers arrive — so your move-in day is smooth, not stressful.
Frequently Asked Questions
How long does BTO renovation cleaning take in Singapore?
For a standard 4-room HDB BTO, our team typically takes between 4 to 6 hours depending on the extent of renovation debris and the level of cement haze on the surfaces. Larger units like 5-room flats or maisonettes may take 6 to 8 hours. We always give a realistic time estimate after a quick assessment of the unit — we’d rather be honest about the time needed than rush the job.
Can I do post-renovation cleaning myself instead of hiring a professional?
You can do basic surface wiping yourself, but most homeowners find that DIY attempts don’t remove cement haze effectively, and there’s a real risk of scratching new tiles or glass by wiping before properly vacuuming. The specialist equipment and chemical agents our team uses for post-reno cleaning are not available in regular supermarkets, which is why the results look and feel significantly different. If your budget allows, professional post-reno cleaning for a BTO is one of the most worthwhile investments before move-in.
Do I need to be present during the cleaning?
You don’t need to be there the entire time, but we do ask that a homeowner or representative is available at the start for a brief walk-through and again at the end for a handover inspection. This ensures we understand any specific concerns you have about particular surfaces or areas, and that you’re fully satisfied with the result before our team leaves.
How much does BTO renovation cleaning cost in Singapore?
Pricing depends on the flat size, the volume of renovation debris, and whether any specialist treatments like cement haze removal or grout cleaning are needed. As a general guide, most 4-room BTO post-reno cleans fall within a range that’s very competitive when you factor in the time, equipment, and expertise involved. WhatsApp us with your flat size and we’ll give you a straight, honest quote with no hidden charges.
Should I do post-renovation cleaning before or after furniture delivery?
Always before — ideally before any furniture, appliances, or personal belongings enter the flat. Post-renovation cleaning involves vacuuming fine cement dust from every surface, and if your new sofa or mattress is already in the room, that dust settles into the upholstery and fabric. Getting the cleaning done first means every surface is genuinely clean before anything goes on top of it, protecting both your new furniture and your family’s health from day one.
Ready to get this sorted? WhatsApp Doctor Clean — honest quote, no hard sell, fast reply.
Tags

 Doctor Clean