
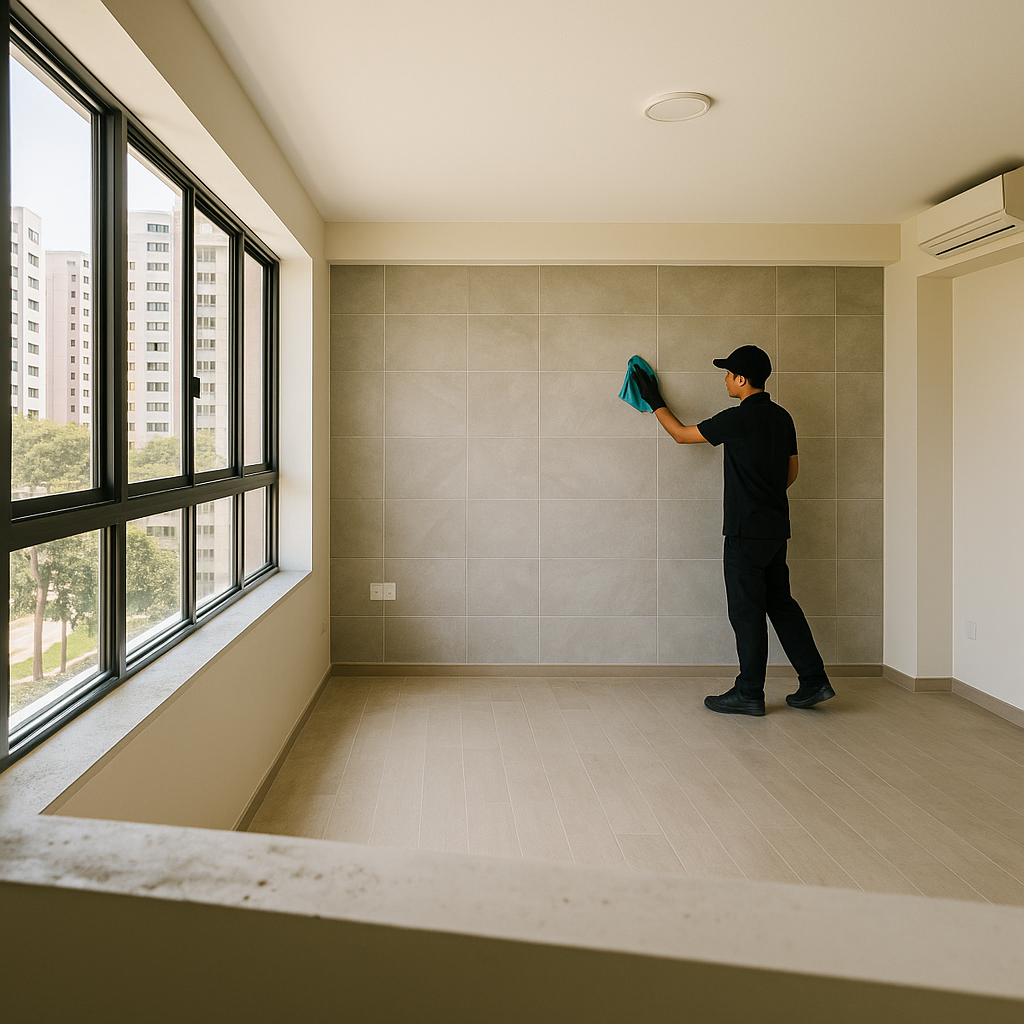
If you have just finished a renovation in Singapore, you already know the feeling — contractors hand over the keys, you step inside, and the dust is absolutely everywhere. Cement powder on the windows, tile grout haze across every floor, silicone smears on the bathroom mirrors, and a fine grey film coating surfaces you forgot even existed. A proper post-reno cleaning checklist Singapore homeowners can follow — before a single piece of furniture crosses the threshold — is not optional. It is the difference between moving into a truly fresh home and spending the next six months discovering grime in corners you missed.
A Real Story — A Bishan BTO Owner Who Thought She Could DIY It
Priya had just collected the keys to her new 4-room BTO in Bishan after a full hack-and-rebuild renovation. She spent an entire Saturday mopping floors and wiping surfaces herself, confident she had covered everything before her Castlery sofa arrived on Sunday morning. By Monday, her husband noticed cement haze still locked into the rectified tile grout, the kitchen exhaust hood was coated in a sticky plaster dust film inside the motor cavity, and white calcium streaks were already showing on the bathroom glass panels — surfaces Priya had wiped but not treated correctly. She reached out to Doctor Clean, and our team went in with specialist post-reno protocols over a full day. When we were done, she said it was the first time the flat actually smelled and felt like a home rather than a construction site — and she wished she had just called us from the start.
Step 1 — Assess Every Room Before Opening a Single Bottle
Before our team touches anything, we do a full walk-through of the entire unit — every room, every wet area, every built-in cabinet interior. In post-reno environments, jumping straight into cleaning without assessment means you spread dust rather than remove it. We document where cement haze is heaviest, where silicone residue needs solvent treatment, where grout needs sealing, and which surfaces — marble, porcelain, timber laminate, or glass — require specific products so we do not cause permanent damage. This first step alone takes fifteen to twenty minutes, but it is what separates a professional post-reno clean from an expensive mistake.
Step 2 — Remove All Loose Renovation Debris and Dust
Dry removal always comes before any wet work. If you wet-mop a room still coated in construction dust, you create a paste that locks into grout lines and porous surfaces. Our team uses HEPA-filter vacuum equipment on all floors, built-in shelving interiors, window tracks, and air-con ledges before a single damp cloth appears. Here is the full scope of what we dry-clear in this phase:
- All floor surfaces — tile, vinyl, timber — vacuumed in sections, not swept (sweeping redistributes fine cement dust into the air)
- Window tracks, sliding door channels, and aluminium frame corners where fine grit accumulates heavily after drilling and hacking works
- Interior of all built-in cabinets, wardrobe shelves, and kitchen cabinet carcasses — contractors leave sawdust and plaster debris inside every single time
- Air-conditioning ledges, false ceiling perimeters, and any recessed lighting cavities accessible from below
- Bathroom exhaust fan grilles and kitchen hood interior vents, which trap construction dust in the motor blades
“One thing most Singapore homeowners miss — cement haze on rectified tiles looks like a white film that mops off easily, but it is actually a mineral bond that requires a diluted acid-based cleaner applied carefully, not a standard floor cleaner. Using the wrong product either does nothing or, worse, permanently etches your new tiles before you have even moved in.”
Step 3 — Tackle Cement Haze, Grout Haze, and Hard Water Stains
This is the step that separates a genuine post-reno clean from a regular maintenance clean, and it is where most DIY attempts fail completely. Cement haze forms when fine concrete particles suspended in the air during hacking and plastering work settle onto tiles, glass, and sanitary ware — and then bond as they dry. Our team uses a controlled dilution of grout haze remover applied with a non-scratch applicator, worked section by section on the floor and then carefully on wall tiles, before being fully neutralised and rinsed. On bathroom glass panels and mirrors, we use a separate calcium and limescale treatment that dissolves mineral deposits without scratching the glass surface. In kitchens, benchtops and splashback tiles often have both cement haze and silicone smear from the tiler’s work, so we treat these separately with a silicone solvent before the acid-based haze remover. Skipping this step or doing it out of sequence causes permanent hazing that no amount of regular mopping will ever fix — we see this in BTO and condo units across Singapore constantly when homeowners call us after moving furniture in and then realising the tiles still look dull.
Step 4 — Deep Clean All Wet Areas, Fixtures, and Glass
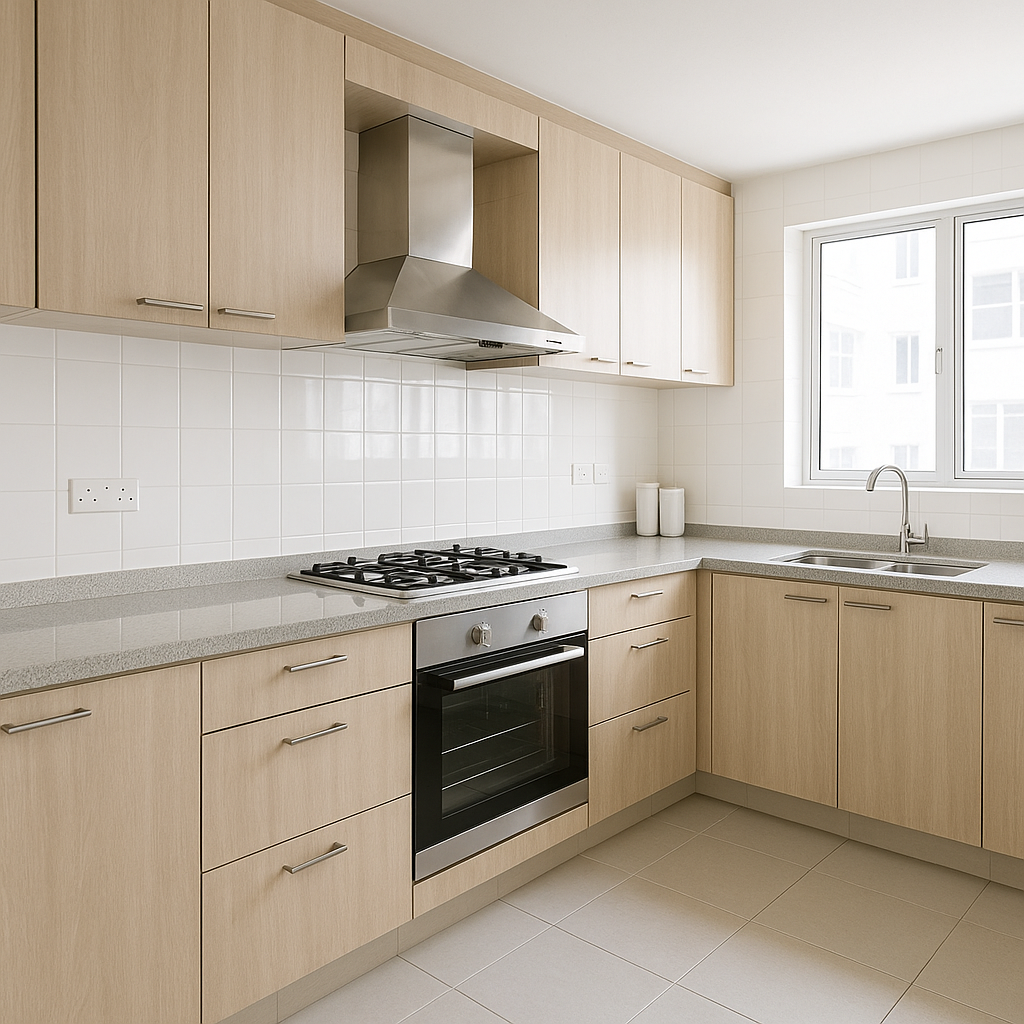
Bathrooms and kitchens come out of renovations in a particularly rough state — even brand new ones. Plumbers leave flux residue around pipe fittings, tilers leave grout smear on sanitary ware, and shower screen installers leave silicone fingerprints on every panel. Our team cleans every toilet bowl, basin, and bathtub with appropriate sanitary cleaners, removes all silicone smear from shower screens and mirrors, descales all tap fittings and showerheads that may have been exposed to hard water during the contractor’s testing phase, and wipes down every tile surface in the wet areas from ceiling height to floor. We also clean inside the toilet cistern if it has been removed and reinstalled during the renovation, because debris gets inside more often than you would think. For kitchens, we clean the sink, all benchtop surfaces, the interior of the oven and microwave if already installed, and the range hood interior including the filter housing — because plaster dust gets pulled in through the ventilation opening during works and sits on the fan blades.
Step 5 — Final Wipe-Down, Window Cleaning, and Handover Check
The final phase is a methodical top-to-bottom wipe of every surface in every room — light switch plates, door frames, skirting boards, window sills, glass panels, and any feature walls — followed by a second vacuum pass on all floors before the final wet mop with an appropriate floor cleaner. Windows are cleaned inside and out where accessible, including the aluminium frames which accumulate a surprising amount of fine grit during renovation works. We finish with a full room-by-room walkthrough with the homeowner or their representative, confirming every item on our checklist has been completed before we pack up — because moving furniture into a post-reno home is a one-time opportunity to get the base perfectly clean, and we take that seriously.
Why Singapore Homeowners Choose Doctor Clean
We have cleaned hundreds of post-renovation homes across Singapore — from 3-room HDB flats in Toa Payoh to landed properties in Bukit Timah and new condos in the Jurong Lake District — and homeowners keep coming back because of the specifics, not the generics. Here is what you actually get when you book Doctor Clean for a post-reno clean:
- Surface-specific products and techniques: We match every cleaner to the exact surface — marble, porcelain, timber, glass, stainless steel — so your brand-new finishes come out looking the way your ID intended, not damaged by the wrong chemical.
- Full interior scope including cabinets and appliances: We do not just clean what is visible. Built-in cabinet interiors, hood motors, and window track channels are part of every post-reno job we do, because that is where the renovation dust hides.
- Trained team with no harsh residues: Our team is trained specifically in post-renovation environments, and we always neutralise any acid-based treatments fully before we leave — your floors are safe for children and pets the moment we are done.
- Flexible scheduling around your contractor handover: We work around your renovation timeline, including weekend and public holiday slots, so your furniture delivery does not have to wait an extra week because a cleaner was not available.
Frequently Asked Questions
How long does a post-reno cleaning take for a Singapore HDB flat?
For a standard 4-room HDB flat that has undergone a full renovation, our team typically needs six to eight hours with a two-person crew. Larger 5-room flats or units with heavy cement haze on large-format tiles can run up to ten hours. We always give a realistic time estimate after you share your floor plan and renovation scope with us, so there are no surprises on the day.
Can I just do the post-reno cleaning myself to save money?
You can attempt it, but the honest answer is that most homeowners underestimate how much time it takes and do not have the right equipment or products to handle cement haze, grout smear, and construction dust in enclosed spaces safely. We regularly get calls from homeowners who have already spent a full weekend cleaning and still cannot get the tile haze or bathroom glass clear — at which point the job is actually harder because some residues have had more time to bond. If your renovation cost tens of thousands of dollars, protecting those finishes with a proper post-reno clean is genuinely worth the investment.
Does Doctor Clean bring all the equipment and products, or do I need to prepare anything?
We bring everything — our own HEPA vacuum equipment, specialised cleaning chemicals, microfibre cloths, mops, and PPE. You do not need to provide anything except access to running water and electricity at the unit. We do ask that all contractors have completed their work and removed their materials before our team arrives, so we are not working around ongoing renovation activity.
Is post-reno cleaning the same as a spring clean or move-in clean?
They are related but not the same thing. A post-reno clean specifically addresses construction-related residues — cement haze, grout smear, plaster dust, silicone residue, and drilling debris — that require specialist products and techniques. A standard spring clean or move-in clean assumes a lived-in environment and does not include acid-based tile treatments, grout haze removal, or the deep dry-vacuum phase that post-reno cleaning requires. Booking the wrong service type for a freshly renovated unit means you will still end up with dull tiles and grimy window tracks no matter how much effort goes in.
When is the best time to book the post-reno clean — before or after ID defect checks?
We recommend booking the post-reno clean after your ID defect check is fully completed and all touch-up works are done, because any additional drilling, grouting, or painting will re-introduce dust and residue and undo the cleaning work. Schedule at least a two to three day buffer after the last contractor leaves before our team comes in, so any freshly applied grout or silicone has cured fully. This way, you get the full benefit of a clean that is genuinely move-in ready.
Ready to get this sorted? WhatsApp Doctor Clean — honest quote, no hard sell, fast reply.

 Doctor Clean