
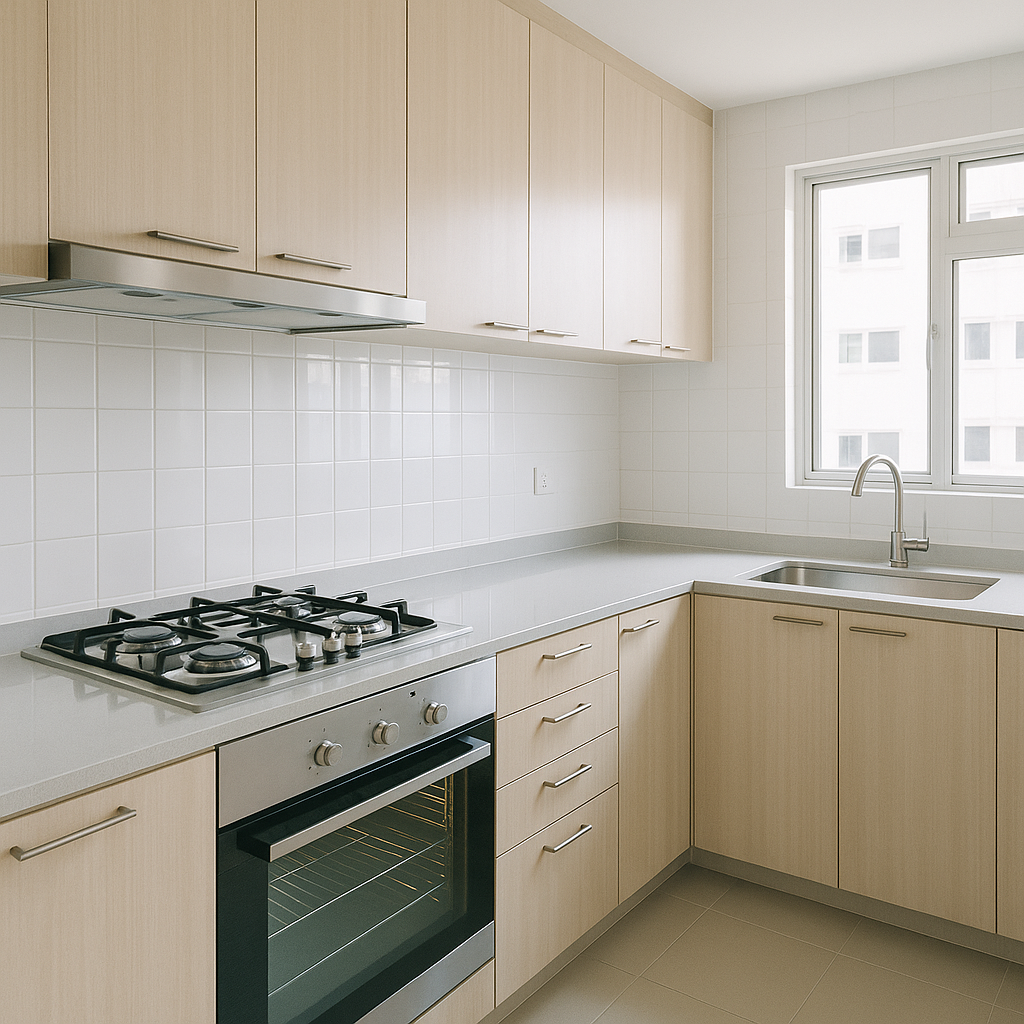
Singapore kitchens take a beating. Between the daily wok hei cooking, our relentless humidity, and the compact layouts of HDB flats and condos, grease and grime find their way into corners that most people never think to check — until the smell starts, or the cockroaches do. If you have been wiping down your counters and thinking that counts as a clean kitchen, our team at Doctor Clean is here to gently tell you: there is a lot more going on behind those cabinet doors and under that hob. Kitchen deep cleaning Singapore homes actually need goes well beyond the visible surfaces, and we have spent years uncovering exactly where the hidden build-up lives.
A Real Story — The Toa Payoh HDB That Smelled Fine But Wasn’t
A homeowner in a Toa Payoh HDB 4-room flat contacted us earlier this year, frustrated that her kitchen always had a faint greasy smell even after she mopped the floors and wiped the counters every week. She had tried commercial degreasers from the supermarket and even repainted one wall, assuming the smell was coming from the surface — nothing worked. When our team arrived, we found the real culprits almost immediately: a grease trap in her cooker hood that had never been emptied in three years, oil residue pooled inside the hob burner caps, and a thick film of oxidised grease coating the inside walls of her kitchen cabinet above the stove. After our full kitchen deep clean, she messaged us the next day to say it was the first time in years she had walked into her kitchen in the morning without that stale oil smell greeting her — and she said she finally felt proud to cook for guests again.
Step 1 — Assess Before We Touch Anything
Before our team touches anything, we do a full walkthrough of the kitchen to identify the severity of grease build-up, the materials we are working with, and any areas that need special attention or pre-treatment. This matters more than most people realise — marble countertops, laminate cabinet surfaces, and stainless steel hobs all require different cleaning agents and techniques, and using the wrong product can cause permanent damage. In our experience cleaning hundreds of Singapore homes, skipping this step is exactly why DIY attempts often leave surfaces streaky, discoloured, or worse than before. We note everything before we open a single bottle.
Step 2 — Pre-Treat the 10 Hidden Areas Most People Miss
This is where the real work begins. We apply appropriate degreasers and enzyme-based cleaners to every surface that has had a chance to accumulate build-up over months or years, giving the solutions time to break down the grease before we scrub. The ten areas our team targets that home cooks almost always overlook include:
- Inside the cooker hood grease filter and the filter housing itself — not just the outside panel
- The underside of the hob and the burner caps, where dripped oil carbonises and hardens over time
- Cabinet hinges, handles, and the top edges of upper cabinets where grease-laden steam settles
- The gap between the hob and the counter edge, and between the counter and the wall
- Inside the oven cavity — walls, bottom tray, door seal, and the inner glass panel
- The back of the refrigerator, including the condenser coils and the drip tray underneath
- The rubber door seal of the refrigerator, where mould and food residue accumulate
- The inside walls and base of kitchen cabinets, especially those near the stove
- The splashback tiles or surface behind the hob, including grout lines saturated with oil
- The underside of shelves, racks, and the ceiling directly above the cooking zone
“One thing most Singapore homeowners don’t realise is that a cooker hood filter running at reduced capacity due to grease blockage is actually making your kitchen air quality worse — the hood is recirculating greasy particles instead of extracting them. We always recommend servicing the hood as part of any kitchen deep clean, not as an optional add-on.”
Step 3 — Deep Clean the Hob, Oven, and Hood as a System
Our team treats the hob, oven, and cooker hood as one connected system, because the grease that splatters from your wok does not respect boundaries — it travels. We disassemble burner caps and trivets on gas hobs and soak them in a degreasing solution while we work on the hob surface itself, using non-abrasive scrubbing tools that lift carbonised grease without scratching the enamel or steel. For ovens, we apply a specialist oven cleaner to the interior walls, door, and heating element surround, leave it to dwell, and then remove it carefully — this step alone takes time, which is why it almost never gets done properly in a regular household clean. The cooker hood is cleaned inside and out: we remove and clean or replace the grease filter, degrease the fan blades if accessible, and wipe down the internal ducting entry point. By the time we are done with this section alone, most clients are already shocked at how different the stove area looks — and smells.
Step 4 — Tackle Cabinets, Tiles, and the Refrigerator
Cabinet fronts in Singapore kitchens — especially those with a matte laminate finish or timber veneer — absorb grease over time and become tacky and discoloured in ways that look like ageing but are actually just grime. Our team uses pH-neutral cleaners on these surfaces to dissolve the grease film without stripping the finish, then follows up with a microfibre polish to restore the original look. For tile splashbacks, we pay close attention to the grout lines, which are porous and trap oil and food residue at a level that regular wiping cannot reach — we use a stiff grout brush and a targeted cleaner to draw this out. The refrigerator is often forgotten entirely during a kitchen clean, but we pull it out from the wall, vacuum the condenser coils, clean the drip tray, and sanitise the rubber door seal inside the folds, where mould colonies are almost always quietly growing. In BTO flats, where kitchens are often compact and the fridge sits close to the cooking zone, this build-up happens even faster than in older HDB units with more ventilation.
Step 5 — Sanitise, Dry, and Final Check
Once every surface has been degreased and cleaned, our team does a full sanitisation pass — particularly important for food preparation surfaces, handles, and areas near the sink where moisture and bacteria coexist. We make sure every surface is properly dried, because residual moisture in a Singapore kitchen is an invitation for mould to return within days. Our final walkthrough checks every one of the ten areas we targeted at the start, and we do not pack up until we are satisfied that the result matches what we promised — that is our standard on every kitchen deep cleaning Singapore job we take on.
Why Singapore Homeowners Choose Doctor Clean
We have cleaned kitchens across Singapore — from 3-room HDB flats in Bedok and Woodlands to penthouse condos in Orchard and landed homes in Bukit Timah — and the feedback we hear most often is that clients wish they had called us sooner. Here is what sets our service apart:
- Genuinely deep, not just surface-level: We target the 10 hidden areas that regular cleaning misses, so you get results that last weeks and months, not just until the next meal.
- Safe for Singapore home materials: We select the right product for each surface — marble, laminate, stainless steel, porcelain tiles — so nothing gets damaged in the process, which is a real risk with generic DIY degreasers.
- Trained team, no shortcuts: Every Doctor Clean technician is trained on our full kitchen protocol. We do not rush jobs to fit more bookings into a day, and we do not skip steps because a surface looks clean enough.
- Book and forget: We confirm your slot, show up on time, bring all our own equipment and cleaning solutions, and leave your kitchen cleaner than you have ever seen it — no preparation needed on your end beyond clearing the counters.
Frequently Asked Questions
How long does a kitchen deep cleaning session take in a Singapore HDB?
For a standard HDB 3-room or 4-room kitchen, our team typically takes between two and three hours for a full kitchen deep clean, depending on the level of grease build-up and whether the oven and cooker hood are included. Larger kitchens in condos or landed properties with more cabinetry or a double oven will take longer. We always give you an honest time estimate upfront so you can plan your day accordingly.
How often should I book a kitchen deep cleaning in Singapore?
For households that cook daily — especially wok cooking with high heat and oil — we recommend a full kitchen deep clean every three to four months. If you cook less frequently or mainly use the microwave and airfryer, every six months is usually sufficient. The humidity in Singapore accelerates grease oxidisation and mould growth, so leaving it longer than six months almost always means a harder, more time-consuming job when you do finally clean.
Is it safe to deep clean the oven and hob in a rented condo or HDB?
Yes — our team uses cleaning agents that are safe for all standard oven and hob materials, and we do not use any methods that would void appliance warranties or damage rental property surfaces. In fact, a professional deep clean before the end of a tenancy is one of the best ways to ensure you get your deposit back in full, since landlords in Singapore consistently flag dirty hobs and ovens as deduction items.
Do I need to buy any cleaning products or equipment before your team arrives?
Not at all. Doctor Clean brings everything — industrial-grade degreasers, enzyme cleaners, microfibre cloths, grout brushes, protective covers, and all the tools we need for a complete kitchen deep cleaning Singapore service. All you need to do is clear your countertops of small appliances and personal items so we can access all surfaces without interruption.
Ready to get this sorted? WhatsApp Doctor Clean — honest quote, no hard sell, fast reply.
 Doctor Clean